Welcome to our quick installation guide for your new commercial dishwasher! Whether you're setting up a glasswasher or a dishwasher, this step-by-step guide will ensure a smooth installation process. Keep in mind that each machine comes with manufacturer-specific instructions, so be sure to refer to those alongside this guide for the best results.
Before You Begin: If you've purchased a WRAS-approved product, it will include a double check WRAS-approved valve. Install this valve in-line with the incoming mains water supply and before the isolation valve to comply with WRAS approval conditions.
Unpacking and Preparation:
- Remove all packaging and film covering from the dishwasher.
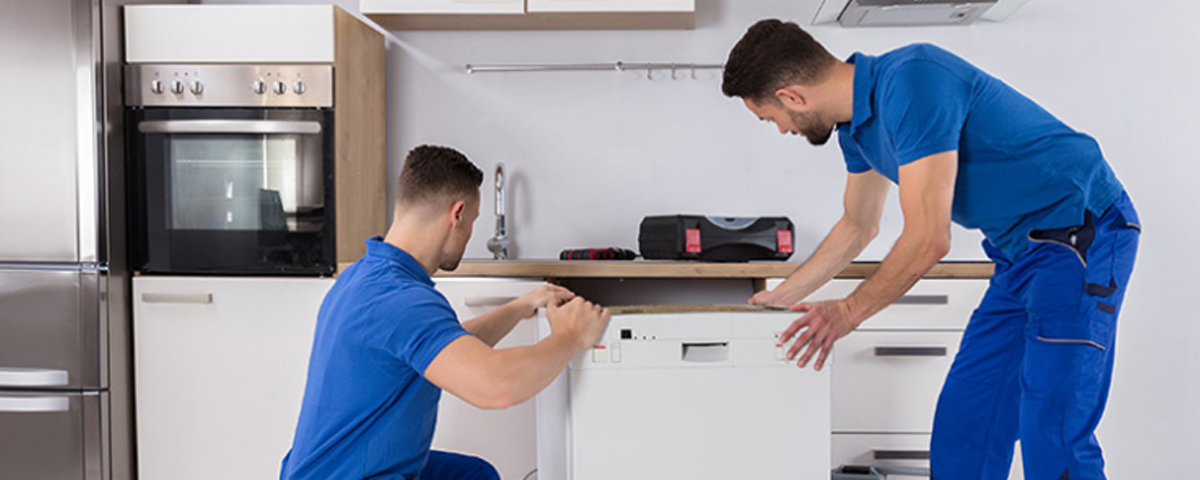
- Site the dishwasher in the appropriate place and ensure the machine is level using a spirit level. Failing to level the dishwasher may result in water escaping from the front door during washing.
- If using a water softener, connect the mains water to the top of the water softener, and then connect the machine to the bottom.
- Ensure the water valve is turned on for proper water flow before turning on the machine.
Detergent and Rinse Pipe Setup:
- The machine will have two slim tubes coming from the rear. These are normally labelled or colour coded for either rinse aid or detergent. Refer to the user manual if you're not sure.
- Attach the weights provided to the tubes to ensure they sink to the bottom of the detergent and rinse aid bottles.
Waste Pipe Configuration:
- For gravity waste machines, ensure the waste pipe goes down into the drainage system, positioned lower than the bottom of the machine for proper drainage.
- Pump waste machines require the waste pipe to be placed in an upstand or connected to the 'U' bend under the sink. The upstand should be 3"-4" below the top of the machine for optimal drain pump operation.
Power Connection:
- If your dishwasher is a 13amp model, plug it into a wall outlet using the supplied three-pin plug. Never use an extension lead as this can be a fire hazard.
- For models with different power connections, such as those factory-fitted with a 3 phase or 1 phase commando plug, connect it to an existing outlet by plugging it into the appropriate outlet. Before connecting the dishwasher, ensure that the circuit breaker for the outlet is suitably rated for the total power load of the dishwasher. This step helps prevent electrical issues and ensures safe operation.
- If the dishwasher does not have a plug fitted and is intended to be hardwired, enlist the services of a qualified electrician to handle the connection safely and in compliance with electrical codes and regulations.
Initial Operation:
- You may need to prime the dosing pumps on initial installation and/or adjust the dosage to suit your water hardness. Refer to the manufacturer's instructions for detailed steps.
- Press the on/off button to start the dishwasher. It will begin to fill with water. Once filling is complete, the dishwasher will start to heat up.
- You must wait until the dishwasher has heated up before use. After a period, the boiler light will go out, indicating that the machine has reached the desired temperature. Normally for first use, this takes about 30-60 minutes.
- When the heating light goes out, your machine is ready for use.
Operating Instructions:
- You must wait for temperatures to recover between wash cycles.
- For detailed instructions on how to operate the machine effectively, refer to the operating instructions provided by the manufacturer.
Conclusion:
With these simple steps, you can confidently install your commercial dishwasher and prepare it for its first operation. Remember to consult the manufacturer's manual for any specific instructions tailored to your machine. Enjoy the efficiency and convenience of your new dishwasher!


